Sunday, May 6, 2012

My Mini

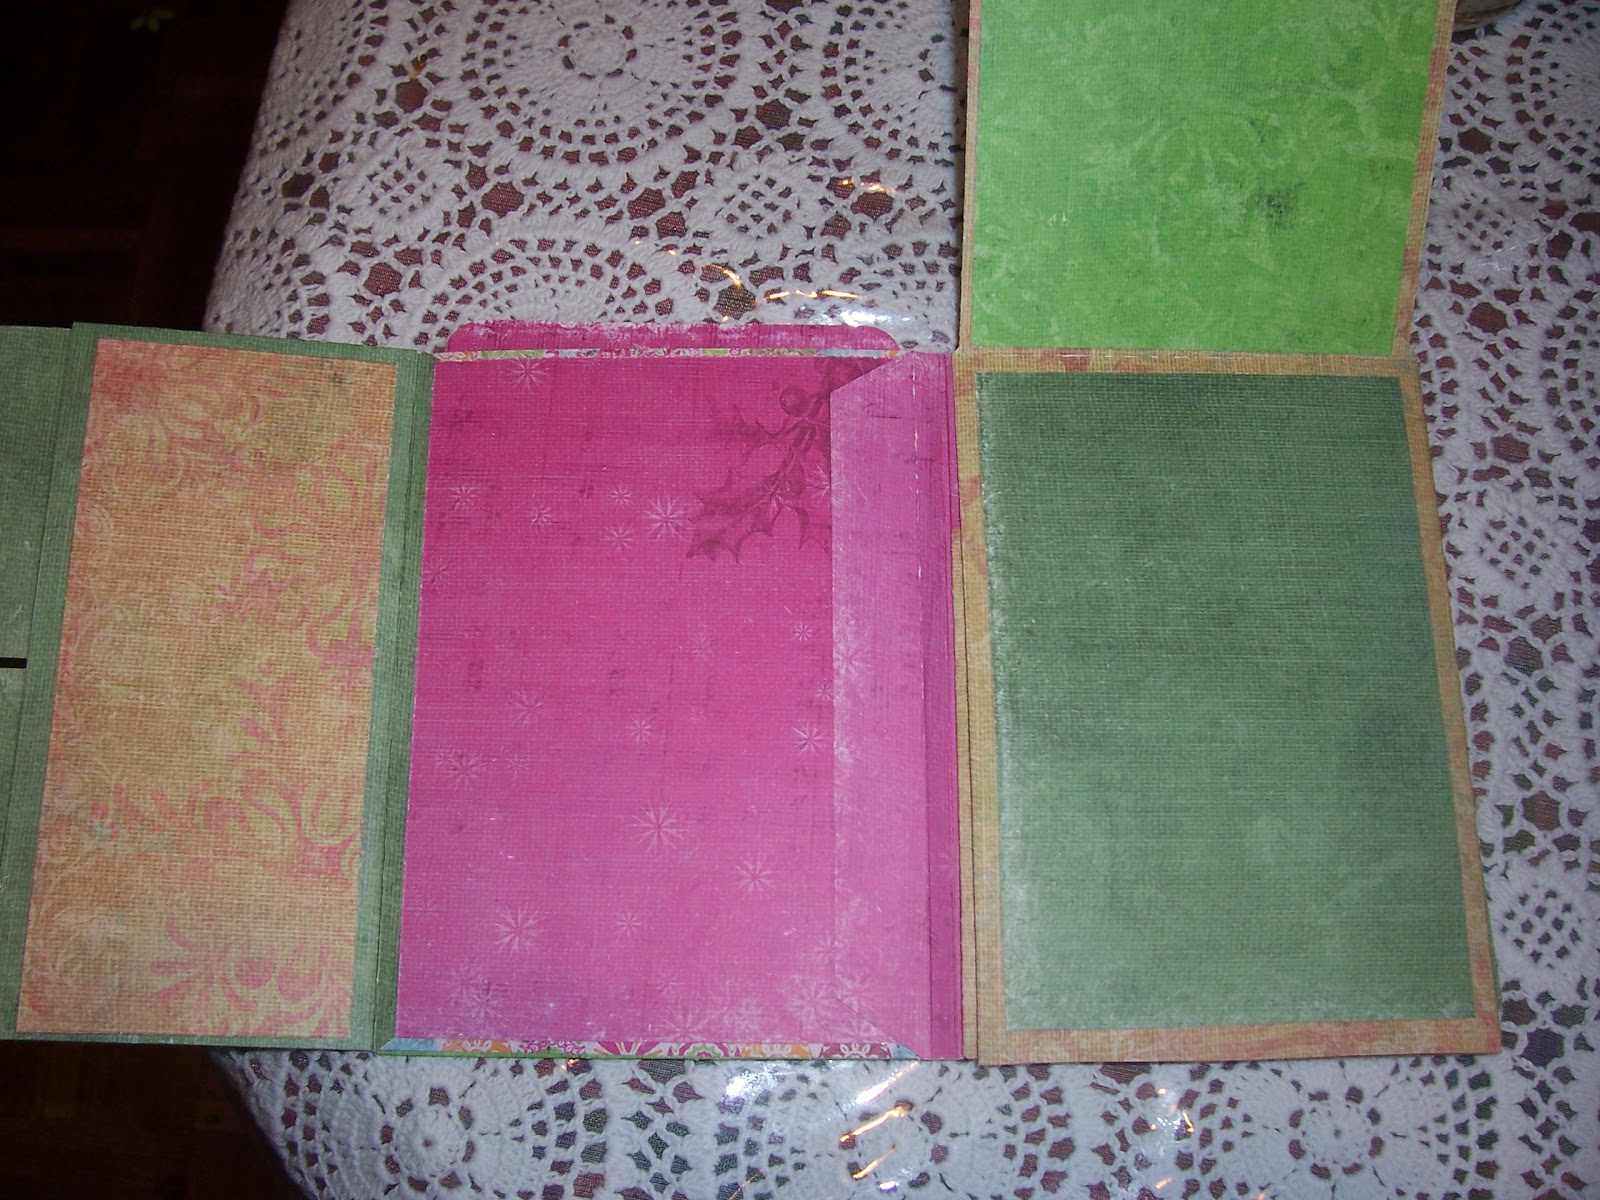
I put the photos of the book I made - here is the one I received in exchange.  I love the interactivity!!


What a great little corner pocket!


Tuesday, May 1, 2012

Three pages built with 'real paper'

and they definitely look better - or are at least easier on the eyes.

I was amazed at how quickly this little album is coming together.  I will make 2-3 more pages and then add a cover and it will be ready (sans embellishments) to go!


Monday, April 30, 2012

Working on a Build a Page album

With a travel theme.  I just finished watching the Ustream (from last year - finally) from Paper Phenomenon.  Love her build a page idea.  Anyway - my samples are now done!


Finally a great use for all that neon paper someone 'donated' to me (aka - someone else was tossing and I couldn't let them go to waste).  I am almost to the end of it!  I love to use scraps or other papers I won't use for pages with samples - that way I can use contrasting colors and I usually put a loop through and keep all my various pages on keying holders for easy reference.

DANGER - starting these mini album pages can be hazardous to your stash - they are extremely addicting and turn out super cute!!!!  I actually need some more paper now - SHOCK!!!! (ok, maybe need is a bit strong ROFL)


If you want to see a bit more detail, I posted more complete photos over on www.scrapbookingfun.biz as part of today's post.  Otherwise, visit Paper phenomenon's site where you can download her instructions :)

Saturday, April 28, 2012

Tried a new mini

I learned a lot and will do some things different for one as a gift, but as I am keeping this one, I just had some fun with using papers i liked. I watched a tutorial on Creative Cafe (either that or Kathy Orta - I don't remember, just found my notes, had some time and gave it a shot).

First time, the box was completely wrong.  Still not happy with the fit on this one, but it turned out better.  I have started adding some photos - from back when I was a lot younger - I think I had a 110 camera when I took them.


Tuesday, April 24, 2012

A fun Mini Swap

I created this album for my partner.  We were only allowed to add cover and binding materials (not embellishments).

Discovered a lot about glues, but it was definitely fun to create.
outside cover
 shot of the spine and hanging thing
 inside front cover
 first flap with tags inside
 page two - more tags/photo space
 page three - love that rosette flower
 look at the delicate cut of the butterfly - pic is not excellent, but it is really pretty
 another insert spot for tags - just a few there now
 I totally enjoyed working with the beads added throughout.  The little paper clip butterfly can move wherever.  It is just clipped here for shipping.
 plenty of space for photos/memorabilia - love those butterflies
 the black and white tag in a library pocket - I wasn't sure how black and white would work, but it did!
 Someone has an imagine - very simple page, but lots of space!
 the left is a pocket made from the interior of the paper bag, the right is the paper bag pocket with a tag
 back side of the paper bag pocket - another tag and space for inserts
 another page with a rosette and beads - plenty of room for pictures!
 The simple little tag with some bakers twine - gotta remember this one!
 Fun with purples!  With so many colors in this album, it took me some time to figure out how to place everything.  They seemed to need to go together.  Oh - the punch is a Martha Stewart Punch around the page set.
 This paper caused me nightmares for a bit, then I realized how beautifully it worked for creating pockets!!!  Then it became a favorite.
 The butterfly and key - the decorated key has been returned to where it belongs with better adhesive now, but as things are packed up, no more pictures :P

 side view - it is a bit thick, but I used the 1/8" hinge type system I had seen on the Paper Phenomenon blog


one of the many tags
 A view with some of the tags coming out.  I ran out of paper, so not everything has tags inserted - plenty of room for my partner to add memorabilia or whatever she likes.
 The black and white beaded tag.
 Here is what was left.  A lot of ribbon, quite a few beads, some beautiful stamps and other embellishments. All are in a baggie, shipping with the book so she can add more ribbons as she desires.

Overall - super fun project to create!  I need a bit of time before the next one, but definitely looking forward to doing this again :)

Wednesday, March 28, 2012

Work it Wednesday

Why Work It?

Because - how many of us have a lot of scrapbook materials sitting around gathering dust?  I know I have more items that I wish to admit.  So, let's decide to either use the items, sell them, give them or re-purpose them so we make a bit less room for the dust bunnies around the house.

Where to start - just pick one tool.  Today I started with glitter.  Not really a big tool, but that stuff sure seems to multiply quickly.  I have a small area to keep glitter as a little goes a long way.  However, once I started cleaning out those dust bunny gathering holes - WOW did my glitter increase.

Now - maybe I should mention - I really don't care much for glitter.  It makes a mess, it sticks everywhere, it gets in your hair (maybe that is just because I am a messy scrapper), it is hard to get back into the bottles, I just hate cleaning up after using it.  So, why do I have over 20 bottles?  Stupidity?  Loss of Reason?  Maybe just because I never was organized before and constantly lost the bottles so bought new ones.  Even a few of those super sized, never gonna use that much of that color unless I redo the house in glitter, giant bottles.  So, off to Goodwill for the giant size bottles.  Even some of the smaller ones are leaving.  My drawer holds 8 little bottles so that is all I am keeping.  Even that quantity should last me many, many years.

Using glitter - my favorite ways (if you can call them that)

take a large glue dot - pour glitter on top - press it in - viola!  glitter buttons

Glue type rub-ons - add some glitter and those are beautiful too

Run a glue line down a border, add some glitter.

Yes, I do like sparkly things - maybe glitter isn't so bad.

Whoops - time to clean up - yes, glitter is a pain!  So glad I am only keeping what actually fits in my cabinet.  (btw, the glitter embossing powders, paints, sprays, etc. are all kept in other locations - this is just plain old ordinary glitter I am talking about)

So - get glittering!  Leave a link and let us see your projects.  I need to get some pics taken and try to post!

Monday, August 15, 2011

Hmm - not sure what I need to do

somehow I have my blogs mixed up.

Anyway - see my scrappy work over at www.scraprageous.blogspot.com

have to see what I did here