Thursday, May 31, 2012

My plate arrived!!

This is absolutely beautiful!  Thanks so much to my partner D.E..  I sure wish I could take better photos as this is phenomenal IRL!  Thank you again!!!


Just as amazing is this fabulous chunky charm she sent me!  Thank you so much!  I had never seen one IRL - oh boy do they look easy to get hooked on :D

Wednesday, May 30, 2012

Feed Sack Tote Bags - Recycled

What to do with a lot of old feed bags that are made out of nice materials?  They need to be recycled and I can only use so many trash bags.

So --- time for a new purpose!

Scraprageous' Recycled Totes!

I just finished my first batch and hope to have many more for sale at the next farmers market on Friday.  They cost $12.50 each or 3 for $32 (shipping is minimal - these bags are pretty lightweight.  I can fit approximately 5 into a flat rate mailer, so shipping is only $2 for a single bag).  If you are interested, you can check out my Etsy shop, website (www.scraprageous.com) or just email me (scraprageous@gmail.com) for a current pdf flier.

My flier photos still need some work, but at least I have something I can hand out!!  Below are a few samples:


Above - our standard chicken tote.  As you can see - it is about the size of a cub foods bag.  Below is our All Stock bag - it has drawings of several different animals.

We offer several styles of cat food tote bags as well.  Any bag that is made of the plastic type material can be sewn into a tote.  If you want, I can sew them for you at a lower price.  Just ask for the details!


 Above - one of our field bags photso.  These bags have been washed both inside and out and are drying in the breeze!
 As you can see - these totes have wonderful handles to allow the user to toss over the shoulder, leaving your hands free.

One of our horse feed sack tote bags.

Yes, we make every one of these bags.  The dimensions (unless noted) are all very similar to a paper sack from a grocery store.  I do not put final dimensions on the listings as each feed sack brand/type of tote bag is just a bit different in size.  The blue/green cat food tote above is the smallest of our standard totes, but is still almost the same size as a grocery paper sack.  These bags are completely waterproof and very strong.  The only way to damage them (other than cutting) that I have found is to leave them out in the sun for extended periods of time (all year in all weather).  After that much time in direct sun and weather (wind, rain, snow, etc.), they do start to degrade.  I tried a few last year as container gardens.  They work well for the summer, but the bag does loose its integrity by the end of the growing season.  I do have to say, my container gardens on my deck were definitely some of the more colorful ones around.  

Saturday, May 26, 2012

Sneak Peak #2

Totally loved creating this, in spite of many challenges (glue, blank space, etc.).  However, can't resist posting another sneak peak at the charger plate.  I sure hope my partner likes it.


Friday, May 25, 2012

Stacy's Blogiversary Candy!!!

Check out her blog over at http://scrapwithstacy.blogspot.com/2012/05/my-2-year-blogiversary-giveaway.html?showComment=1337945730792#c738466930823433953

She has some really fun and inspiring projects.  Her challenges over at Sketches4all are always fun to complete (though I really need to work on uploading pictures more often).

Have a wonderful day

Wednesday, May 16, 2012

52 Week Swap Round One (2012 rounds)

I think I messed up which items went where for a few batches, but these are some fabulous items!  This swap is for more experienced swappers, however, newbies who want to try the challenge are definitely welcome.  As long as you follow the rules, you are great!  This swap really lets us all try some new things and put our creativity to the test.  It also allows us to remember some of our original favorite swap items!

The first category was Heart Shape.   You will see heart elements/atc/even a box!


Next challenge was reds.  Boy did people go all out - deco squares, rosette, a stick pin, and a photo mat with a die cut edge.

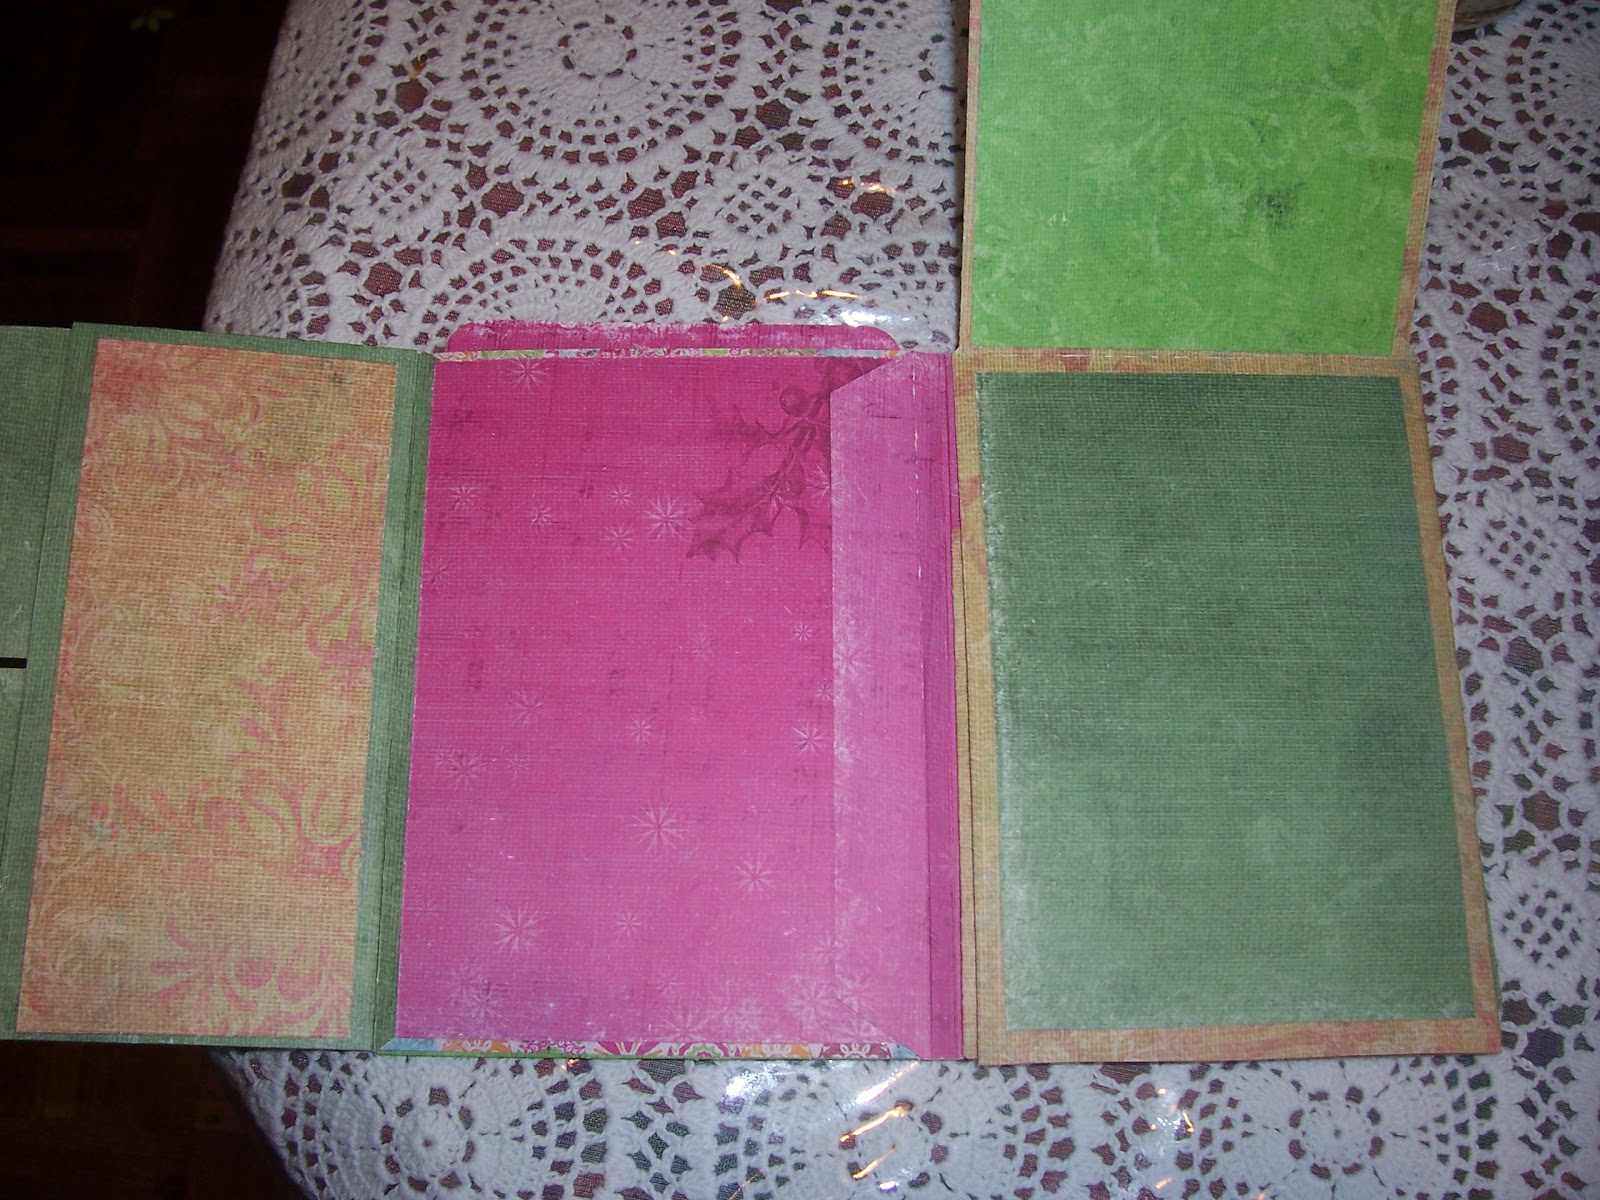
A week of using Bo Bunny papers - a license plate, bookmarks, a mini album page and some flowers.
 The back side of the mini album page - and then the insert that pops out.  If you want to enjoy a beautiful mini at the end of this swap - join in!  Visit www.scrapbookingfun.biz and you can join in for the remaining rounds.  By the end, the scrapper who does the mini pages will have created a wonderful book for you!  I know I have used/am using mine from last year and definitely have enjoyed it.


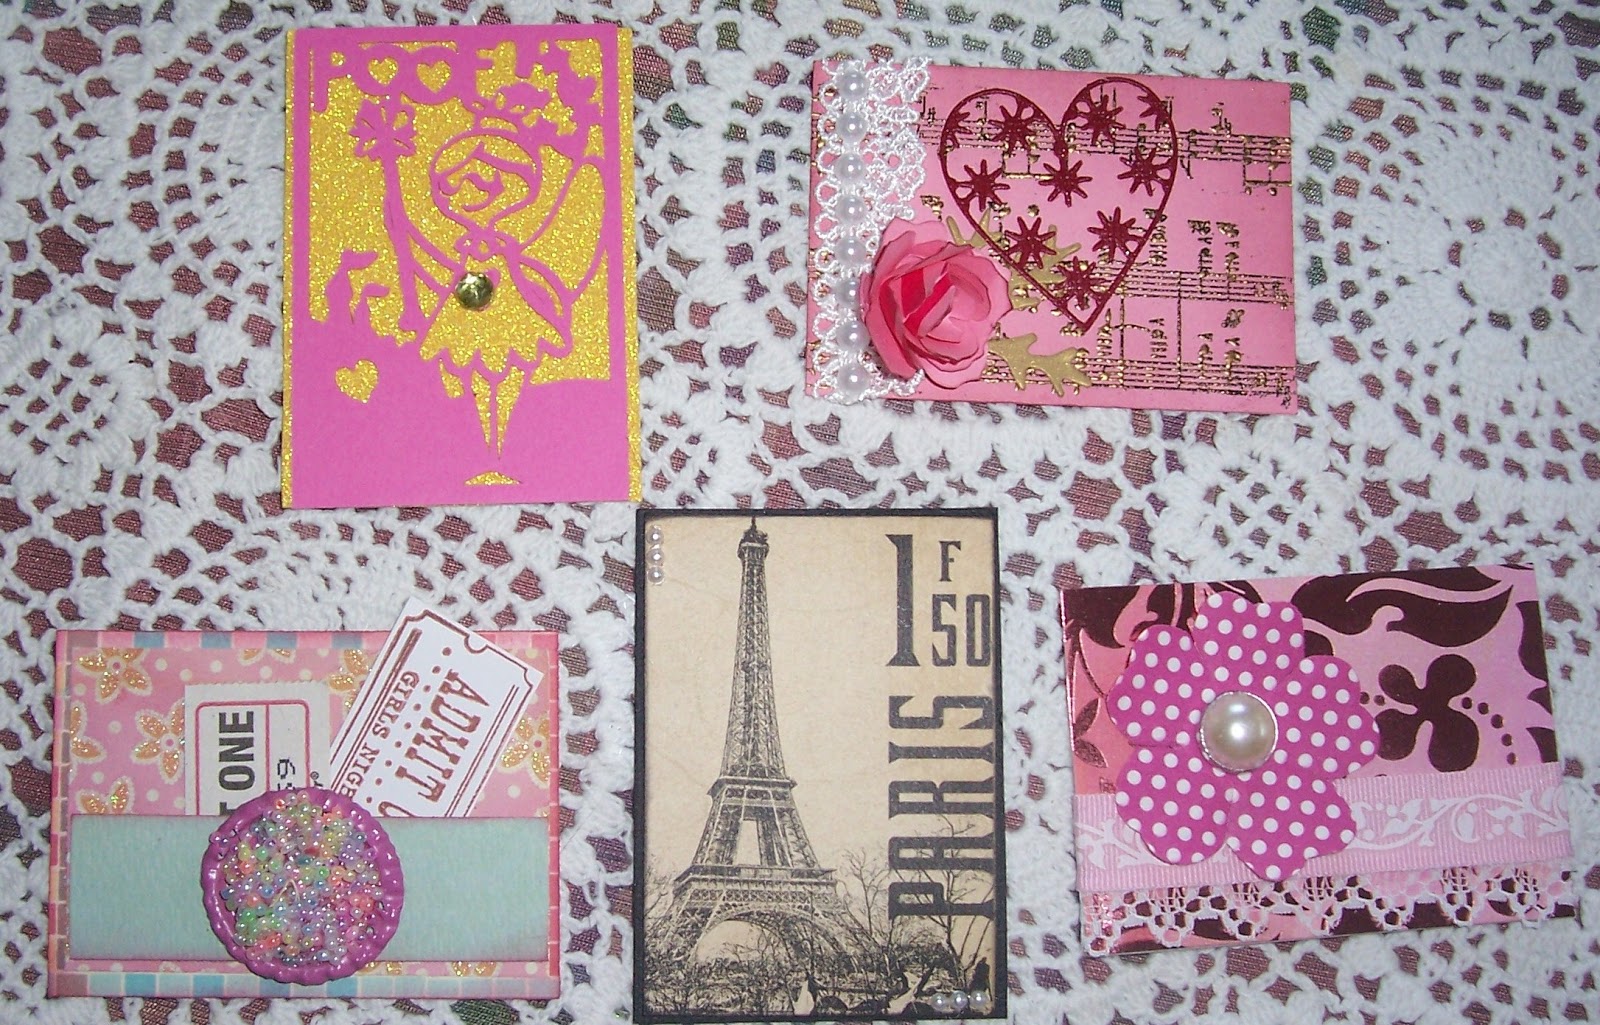
Femminine ATC's.  Love the different interpretations we all have.  I took another photo on a black background as I thought my tablecloth distracted too much.


Another week's items were Tags.  Love the various interpretations (I think the rosette belonged with the bo bunny papers).  One thing - if you join in the swap, if life happens, and I know it does to all of us at times, you are allowed to do a buy and bag for a week without issue.  The different tag interpretations are always fun.  Another plug for the swap - I limit it to a max of 8 participants.  We run weeks with 4, but never go above 8.  For more details - check out the www.scrapbookingfun.biz site under swaps.  We are finishing up round 2 right now.  Round three entails 8 weeks of creating swaps (one per week), then two weeks to get things shipped to reach me.  Definitely a fun and challenging swap.  Best part - by the end of the year you have 100's of beautiful page accents to use.

 Next up (I am not sure why only four pieces are here - will have to figure out what the fifth one was) - National Popcorn Day!  That was the theme and then viola!  The interpretations are wonderful.  Looks like my cat wants in on the action.  LOL.  The Just chillin is a title for a page -I put a scrap of paper behind to have it show up better.

Week 8 was keep it simple and make a journal piece to go with the bo bunny papers from an earlier week's creation.  I do give one paper brand each month (Bo Bunny was this round, Basic Gray next round, etc. - this is a stash friendly swap).  If you think you want to try it out, Round Three starts up June 5th.


This little mini should have been listed up with choice items - it is great for school photos and has little pockets.

Not sure where the purse round picture went.  Once I get the camera back, I need to take another photo.  The purses turned out really, really fun!  I have photos of all but mine - I needed it for a graduation card :P


Ok - I am back with a picture of these purses.  I wish I took better photos as these are more beautiful IRL.

Monday, May 14, 2012

Tried spinning!

and while I love the color of roving I tried, my technique leaves quite a bit to be desired.  :)


I figure I will practice some more, but it is a bit fun.  I spent about an hour working on this - I think I will be taking it apart, but I wanted a photo so I can remember where I started.  People who have been spinning for years talk about lumpy/bumpy and no consistency when starting, I knew that was right, but here is some proof.  I started with 4.5 ounces of roving.  I also started with this beautiful top whorl drop spindle from Dragoncraft.  She has an Etsy shop (address below).  She had a lot of beautiful ones to choose from, all made from resin with a bit of 'stuff' to make them somewhat more personal.  Spindles come in a variety of sizes/costs.  I ended up going for pretty.  I think I also want to find one of the Turkish spindles to try as well.


Anyway, I have plenty of wool and have found washing is not that hard, so I will be trying more spinning very soon with some beautiful grey and white flecked wool my son brought in.

Have a great day!


Sunday, May 6, 2012

My Mini

I put the photos of the book I made - here is the one I received in exchange.  I love the interactivity!!


What a great little corner pocket!


Tuesday, May 1, 2012

Three pages built with 'real paper'

and they definitely look better - or are at least easier on the eyes.

I was amazed at how quickly this little album is coming together.  I will make 2-3 more pages and then add a cover and it will be ready (sans embellishments) to go!