Showing posts with label KI Memories. Show all posts

Thursday, January 10, 2013

And the Senior Albums are coming along

First things first - double check my pattern - my notes on build-a-page albums, my sample and some work in progress.  The Build a page is design by Kathy Orta.  

Next - finish a sample page and it is time to assemble the various kits I will be using.  I use various tapes and Scotch adhesive to build these pages.

Kits assembled - paper for building, paper for decorating and various embellishments go into each baggie.  I bag things up per hockey skater.  Later, I will add photos and such, but parents are still tagging them for me. Their newspaper articles will be added at that time too - as well as some other items.
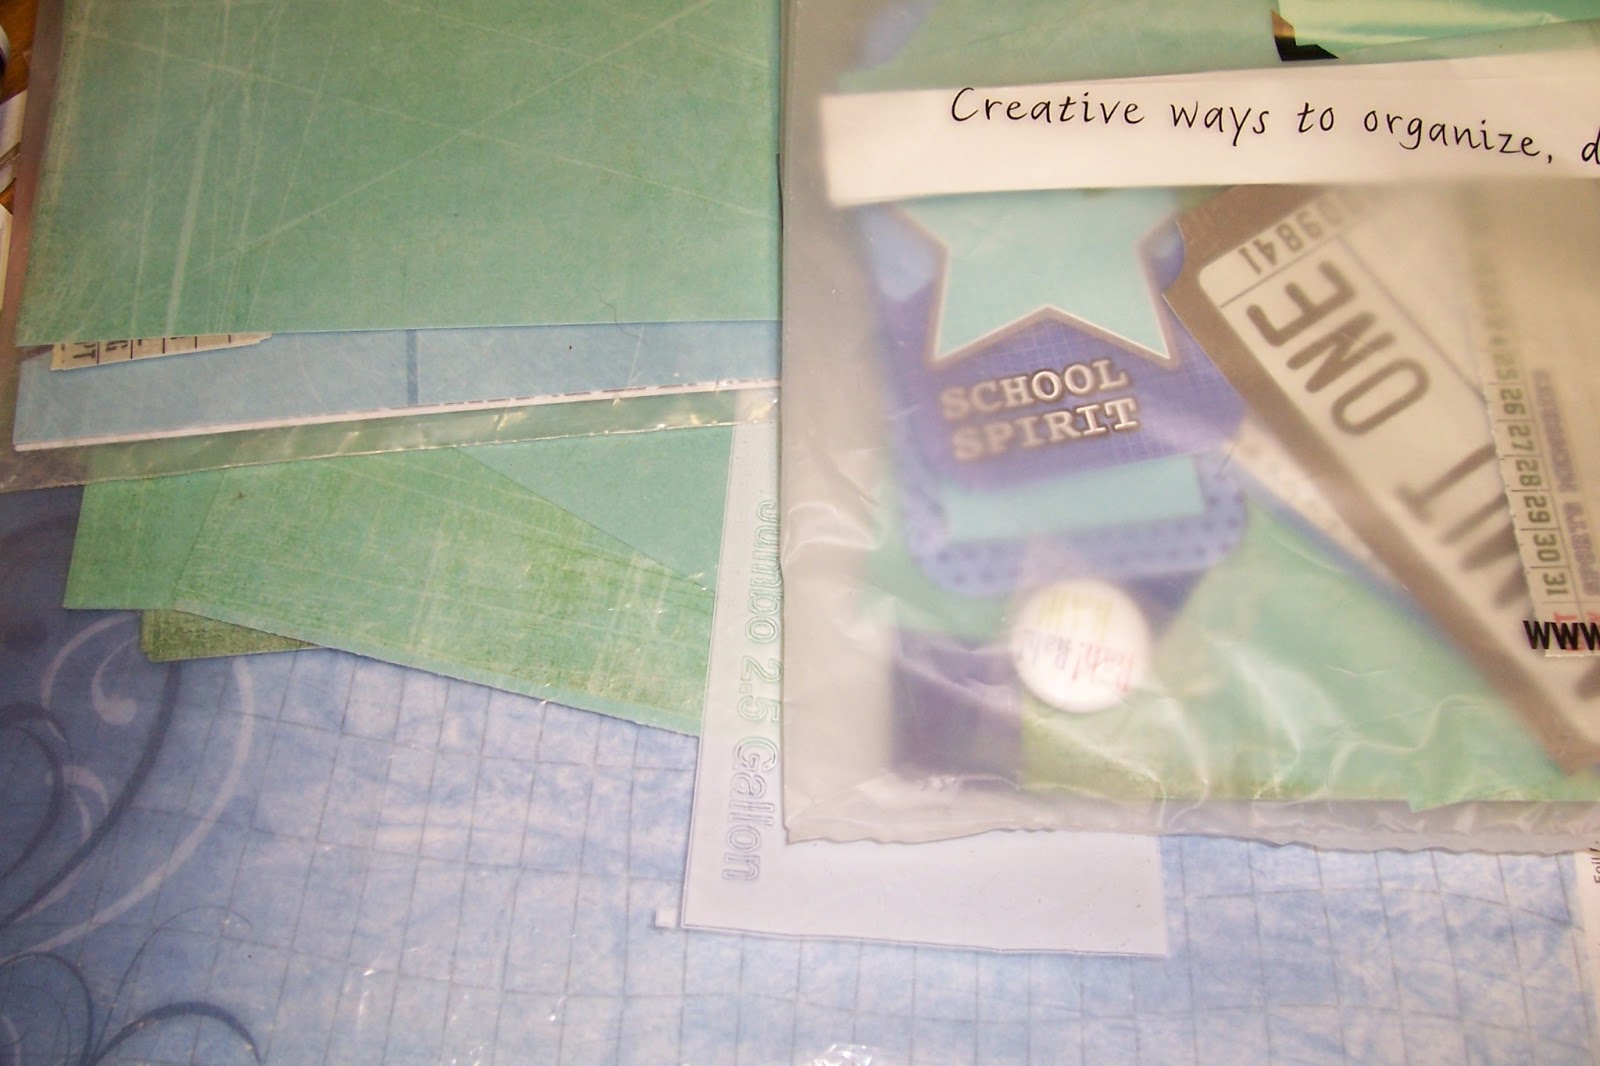
Here are the contents (almost all) of one kit - papers, embellishments and adhesive.  I put the main adhesive I will use into each bag.  From experience I know I will use two rolls of this one, some liquid glue and some scor-tape.  I won't use a whole role of scor-tape or a whole bottle of liquid glue, so those items just come from my stash.

I forgot to take a picture of the pages all assembled, but here are a few of the cover going together.


Finally - the book is bound.  A few embellishments for the cover so I can check out that I have enough paper and all (I do, but just of the non-background pp).

Finally - I have to be sure the covers are right.  After the wonderful gals over on cricut.com cut my pieces, I realized that one of the papers I thought I ordered, I didn't.  So, I had to adjust the size of the album a bit and the hockey sticks were a tad too large.  It nearly broke my heart, until my son had an idea - cut them apart.  Only those with this cartridge will ever know what I have done (plus I have another whole stick to use as an embellishment with a puck!  Yipee!!!!!)  Huge thanks as this is exactly what I am going for.  I forgot to put the O back on before the picture.  It will be done before the boys get their albums.
It is a bit tough to see, but the paper on the front is really sparkly/glittery.  It adds just enough to go with the emblems.  Our team is called Eagle Hockey, so the cover is perfect.  Now to finish the rest of the album - decorating pages, adding tabs/pull-outs, patterned paper, etc.

Those images turned out superb!  I am definitely going to need this cartridge in my library.  Next year?  There are currently 16 juniors skating - if that holds and we have 1-2 join for their senior year - I will be really busy!  May have to call in the reserves --- aka ladies who I hope to bring over to the scrapbooking side!  ROFL

Have a great one!3M Company CAT019 Scotch Scrapbooker's 2-Way Glue (Google Affiliate Ad)

Thursday, January 3, 2013

A Counterfeit Kit challenge

Below are photos from my kit.  It sure doesn't look like I started with the Envisioning Beauty idea on their site from Cassie at Paper Issues, but that is where it all began.  Everything came from my stash.  Once my idea was in mind, it came together very quickly.

First, thinking about what to include.  Then I started gathering, but changed my mind mid-way through from Christmas to Travel.  The results?  A rather large kit.
 First stop - Cardstock.  Two sheets of brown, two green and two white textured AC Cardstock.  Also, a package of kraft Recollections cardstock that will be used to make the album.

Next stop, time to add some patterned paper.  I know I will need at least 18 sheets, however, after adding what I had that I wanted to use (next photos), I was a few sheets short.  Not short on pp, just short on using my stash with a specific line.  So, out comes an old standby - Ephemera papers by Hot off the Press.  Some of the pages are missing, but the next photo shows one of tags and misc. items that can be cut out and I found them very inspiring.

 Next stop, more patterned paper.  These are also from my stash.  Not sure how old they are or who the manufacturer is.  It really doesn't matter, the colors and feel are exactly what I wanted.
 Next stop - more single sided patterned papers.  The top row are from My Mind's Eye Abbey Road collection, one sheet of each.  The bottom row are from a KI Memories pad.  The stripes matched better than I thought and the color hues are perfect.  Two sheets of the red, stripe and blue/green.  Only one sheet of the yellow.  However, I did check out my scraps (stored sorted by basic color) and I found some of the red floral that I have added as well.
 Final patterned paper stop - two sheets of double sided patterned paper from another KI Memories pad.
 Next stop introduces a few 'tools' that I had on hand.  Two sets of travel stamps.  One by Unity Stamp and the other by TPC Studios.
 Next stop, embellishment time.  Below are a few embellishments I found in my stash.  On the right you will see some sheets of pre-embossed paper.  These were all found in my bag of embossed elements.  There is another small bag of embossed leaves towards the left side of the photo that also came from my bag of embossed items.  Next you will see three 12" long strips of distressed rub-ons.  These came to me as a prize and I only selected three from the package to use here.  Below the rub-ons you will see a few pieces I created with alcohol inks for a ustream class a few months ago.  One is made from a piece of acrylic, the other from a piece of chipboard covered with foil and embossed.  Above the rub-ons you will see a border from a travel swap I participated in last year.  I really enjoy swaps - and love to use the pieces.  The final stop for this embellishment photo are the three items of pre-made embellishments - some metal frames with travel words, some Heidi Swap photo plates and some corner brads from a contest over at Scrapbooking Fun.Biz several years ago.
 A quick/up close view of some of the embossed pieces - music, pooh bear, floral, paisley and one other floral type piece.  The black sheets are all core'dinations.
 Next we find a handout from the Retreat attended in September with other ladies from SBF.Biz.  It is a notepad, but I plan to take the top apart and either use for the cover or a page inside the album.
Now we find ourselves stopping at another embellishment baggie.  Inside we find glitter glue, a metal frame, oversized paper clip, some grungeboard tags, various ribbons and fibers, brads, a few flowers and even an American Flag.

Our final embellishment bag stop (and the end of our tour) brings us to some chipboard elements from various sources as well as more swap pieces - leaves, flowers, stick pins, journal elements and even a title block.
I can't wait to get started with this album.  Most of the photos are printed and now that the paper is picked out, I can get going on the actual mini for this wonderful trip.

UPDATE:  I had to add 8 more 12 x 12 sheets to this kit (All Fall by Fancy Pants) as the mini I am making required 12" lengths to create each page.

Tuesday, January 1, 2013

First Layout of 2013

It is a Halloween one for the Use a Swap Challenge over at Scrapbooking Fun.Biz.  This challenge runs through the end of January (there are actually 4 for this month) and all members are allowed/encouraged to participate!  Basically, I was to use a swap for the page.  I found some from 2008 (hmm, 5 years old? - glad someone put a date on the back) and some others that weren't quite so old.  Total blast to start out my morning while waiting for the fireplace to start back up.  Kids forgot to refill pellets last night (their job, but they got busy playing a game, fell asleep and woke up in a cold room at 3 am LOL).

Anyway - paper is old (at least as old as the swaps) and Halloween items are kept in my Halloween drawer, so it was a lot of fun going through swaps/papers/buttons.  Basically - made my own kit!  Thought I was the only one who did this for a long time.  Until, that is, I came across this cool blog called Counterfeit Kit Challenge.  Definitely going to be checking them out for new ideas and such.


The "white" space in the top right corner of the left hand page was really hard for me to just leave there.  But, I did it and am celebrating small accomplishments this am :D

HAPPY NEW YEAR!!!