Tuesday, October 30, 2012

Hurrican Sandy is slowing swaps

Just a few pics of swap pieces that will be leaving here after their due dates as the hostesses are in the path of the hurricane.  Items are completed and bagged, however, since I procrastinated this long, I did ask and they said no mail service right now, so they are staying safe and sound here until mail services resume.  If you are a swapper over at www.scrapbookingfun.biz, no worries if you are delayed.  I won't be marking anyone as a flaker for a bit - just keep the communication coming (I sent my cell to everyone on the East Coast, so if you can text, just let me know you are running late - no bigge :D).

Anyway - these are my pieces.  They aren't perfect.  I tend to use my set as samples to figure out exactly what I want to do, so rarely do they match the sets sent out.  However, you can get an idea.  The santa bear is for the garland we are all working together to create.  Garlands are always so much fun.  Sometimes I end up using pieces in my books rather than as garlands.


Next are my ATC Title Blocks!  These were really a blast to create!  Definitely something I can't wait to do again.  The hardest set?  Snow.  I couldn't get any papers to come together as I wanted, but then was at Jo Ann's and found this wonderful fabric!  I cut apart the letters and used some crystal lacquer to make them look more like epoxy stickers.  You can't see it in the photo very well, but the fabric is infused with glitter and they just sparkle brilliantly!  

 The JOY ATC Title blocks came together quickly.  Once I decided to use some of my glittery My Mind's Eye, Laundry Line paper, it was simple enough to find some coordinating cardstock and add some Liquid Pearls and Pallete Inks.  The set below is mine to keep - I had to piece the bottom layer on the J and realized that I hadn't inked it yet.  Oh well - simple enough to do when getting ready to use it.  I don't remember, but think the lettering may be from the Cricut Alphalicious Cartridge.
 Next are the Love ATC Title Blocks and the TRIP ATC Title Blocks.  The heart shape for this particular title block set is definitely not up to par, so it didn't even make it into the photos.  These were fairly simple, some K and Company paper, AC Cardstock, Core'dinations sparkly cardstock, George and Basic Shapes letters and heart, some prima's, Stickles, and a Martha Stewart punch!

The Trip title block also used the Cricut George letters, an old map I had in my stash, some paper from DCWV's calendar cardstock stack (I don't remember the entire name, but it has papers for all year long), Doublemates Cardstock, and pieces cut from the Making Memories Travel pack of paper (it has a Monopoloy board looking sheet in the front).  I fell in love with that paper and it was a day when Craft's Direct had a sale going.  Either $2 per sheet (I wanted 3) or $10 for the stack!!!  Yep, I bought the stack and have never regretted it.  Some of those papers have made some beautiful layouts.


Speaking of stacks - here is a question for you - how many of you have USED up an entire stack?  Not just most, but every single sheet?  I have, once, with the Making Memories Sports Theme pack.  I used all the papers, but had a few of the punch outs left.  They went into the punchout box and I considered it used.  However, I liked it so much, I bought another stack just like it.  I am about 1/2 through that one now.  The only other way I used and entire stack (Rockstar)  was to give away the two sheets I didn't like.  But, then I bought another Rock Star Stack because those papers fit with so many layouts I create.

So - how about a prize?  I have several sheets from Rock Star and a few other stacks (so I can finish them off) - 12 sheets of paper in total.  Join this site and post if you have used an entire paper pack and if so, how?  Oh yes, I just remembered.  The other way I use entire stacks -- creating mini albums! :D

Have a great day.  This will stay open until November 15.

Sunday, October 28, 2012

Some Pumpkin Fest Pics!


As I look through the photos I took, I forgot a bunch - like the rest of the event!  I took photos of the area's I worked in, but didn't get Pumpkin bowling, Pie eating, the mazes, pumpkin carving, pumpkin walks, pumpkin runs, pumpin croquet, the train, the hay rides, the bon-fire with s'mores, pumpkin bean bag tossing, pumpkin rolling, and more I can't even remember. 

Can't wait for next year! :D

Friday, October 26, 2012

Pumpkin Fest is almost here!

It is an event our church is hosting.  We have been busy getting ready, trebuchet work and even pumpkin gut collectors using a cricut!

Actually, not all containers are for pumpkin guts, this one will probably be over by the petting zoo or pony rides.  Basic, simple vinyl.  I used George and Stretch your Imagination Cartridges.


Tuesday, October 9, 2012

What a Fun trip!

Back from a wonderful Scrapbookingfun.biz retreat in beautiful Lancaster, PA!  We enjoyed our time together and my particular trip was wonderful.

 While driving through Illinois, we made our first overnight stop.

Started out at a Hampton in Elgin, IL.  Wonderful service and friendly staff! and below is the lovely view out the breakfast area and across to the pool


Drove by a really cute Pumpkin Festival in Chicago

Photos are a bit out of order now, this was while driving through Gettysburg.

Across the river and into another state.

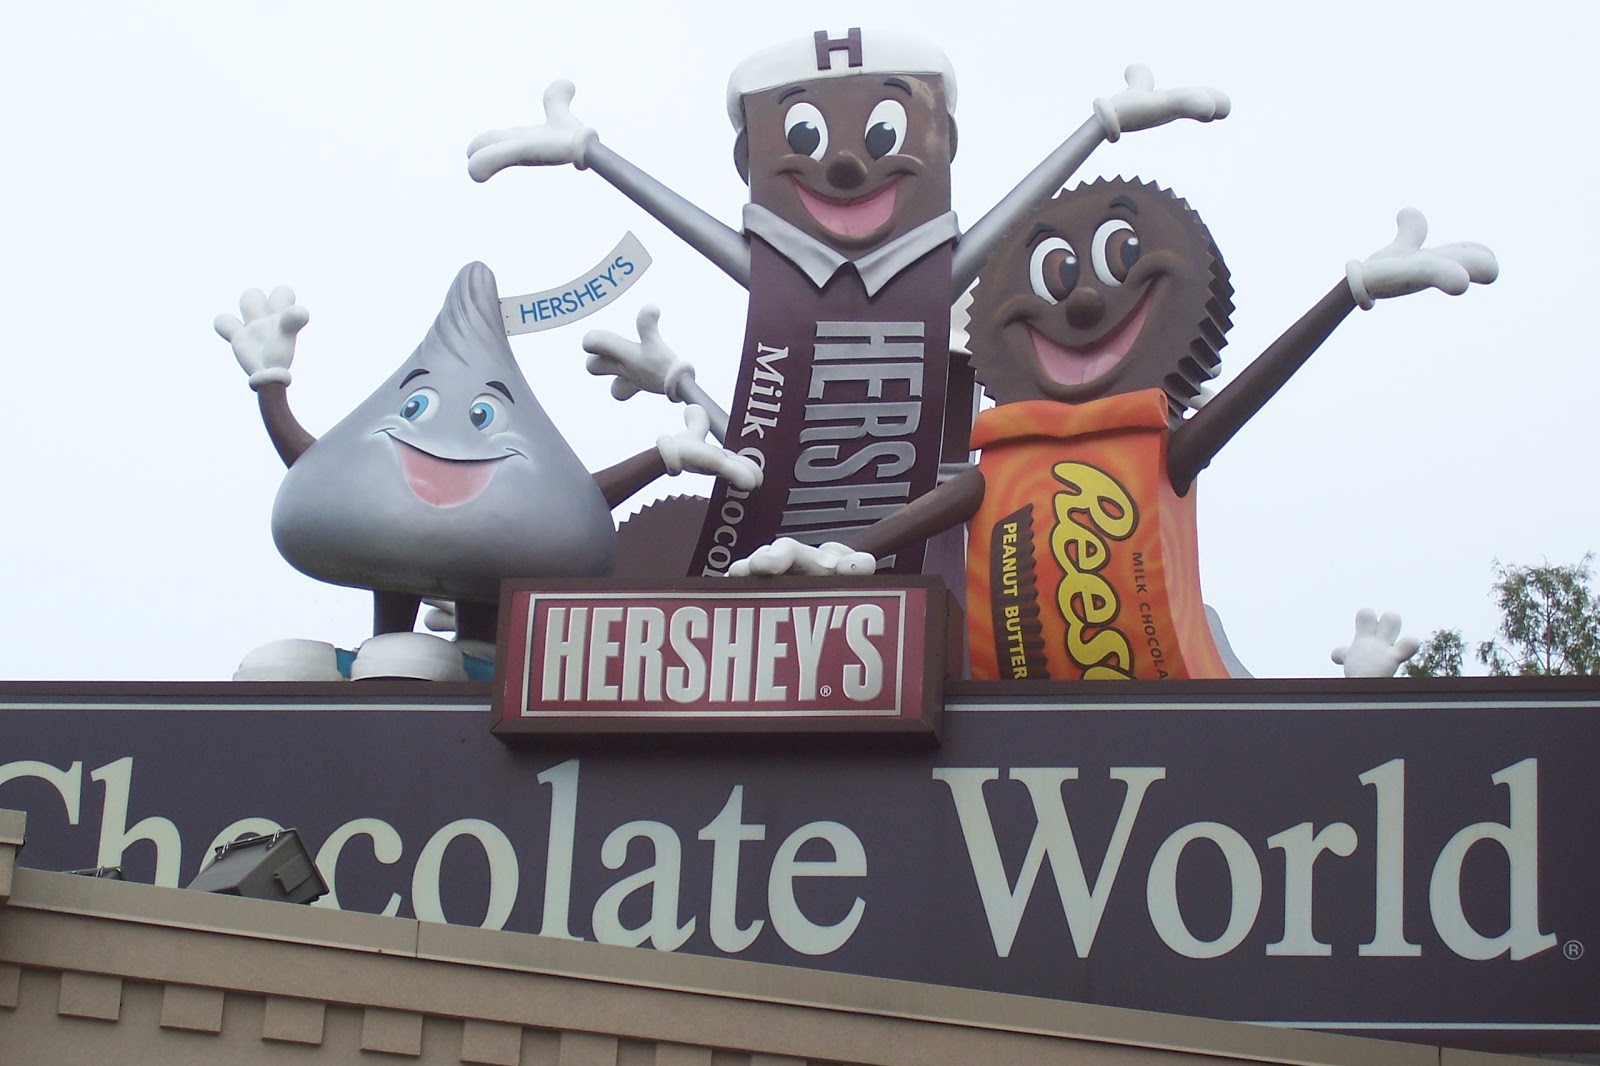
Of course, if you go to Hershey, you  have to stop by the Chocolate Lab.


And if visiting the area, no way would I skip visiting Wilbur Chocolate as well!

The camera card has headed out to SC, so I can't post the pics from the Snyder Pretzel Factory or the Utz Chips Factory right now, but both were a blast!

Heading into some mountain tunnels.


While driving the backroads of Ohio, we needed to slow down a bit.  (yes, we are out of order, but while in Ohio, I was able to spend a day with a BFF I haven't seen in almost 20 years!  What a wonderful day)

 And we arrived!  Lots of fun to be had by all.


Even time for a scrappy Bridal Shower!


Then it was time to head home.  After picking up the worst cup of coffee ever (at a truck stop I frequent when traveling), I had to pull over a few exits up.  The wonderful person at McDonalds threw it out for me and handed me my favorite cup!  
Some beautiful trees on my way home as well.  So happy that I was able to enjoy such a beautiful drive as Peak was past at my house by my arrival home.

Almost two weeks of travel later - I am happy to enjoy my own bed and see how my puppy has grown!  Mine is the back one - he is 1/3 again as large as one one in the front and seldom runs - kind of lopes.  He weighs about 40 pounds right now at 14 weeks old.


Wednesday, September 5, 2012

My apologies

if you went to Ustream for the class last night.  I had something come up that had to be handled.

The class has moved to Tuesday, September 11, 2012 at 7:00 p.m. CST.  Looking forward to seeing you there!

Below are a few of the 12 techniques that will be covered!  Supplies - at least two colors of alcohol inks, blending solution, white felt plus some type of applicator, a permanent marker, foil (or cleaned/cut pop cans), transparency film (or you can substitute with plastic baggies like I used for my sample tags, clear plastic packaging or even clear acrylic flowers/whatever you have on hand) and a plain old drinking straw.  Great excuse for a McDonald's run for a coke!  Save your straw!  :D

I put these on tags so it would be easy to record what I did for each.  Also, if you want, I will also be showing some light switch covers.  I like to change these out often. (camera issues, so some of these are webcam shots - sorry for the lack of clarity)


Saturday, September 1, 2012

New Puppies and another Class

First - Live Ustream class on Tuesday, September 4th at 7 pm CST - Alcohol Ink Techniques.  This class is free if you got to the Scraprageous Ustream page and become a follower.  Ustream will let you have a free account.  Check out www.Scrapbookingfun.biz for complete list of supplies and project samples.  They will be posted after 1:00 on Saturday.

Second - the new puppies - they are a blast!
These are Great Pyrenese dogs that are being trained as guardians for our flocks of sheep.  Right now they are just playing (8 weeks old).  Ours are not 100% guardian as we don't have that vast of an acreage, so they will also have people, chickens, miniature donkeys, ducks, cows, horses, pigs and lots of cats to associate with.  Right now they are enjoying their sheep.  This video is a week old.  We have a ewe that loves dogs (bad if dog is a coyote, so she has to stay close to the house) who is the trainer.  She has been helping teach the other ewes that these two dogs are not anything to fear.  We had to move two ewes out that didn't like the puppies.  These are mostly ewe lambs, other than the 3 year old ewe who likes dogs.  The Jacobs breed don't like any dogs.  The Corsicans and Black Hawaiins and mixed breeds all seem fine with the dogs.  It is a learning experience for all of us.

Why guardian dogs?  With coyotes, wolves (timber), and the occasional bobcat and bear, it should just be easier if we have dogs who like to be up at night (and we will learn their barks).  The donkey's are good - they are nice and loud, but I just miss having outdoor dogs to alert us to everything.  We had to put both our previous outdoor dogs down in the past year so it has been hard to get used to no alert.  I never mind the barks - you learn what each means and it makes for a much more peaceful sleep.  One of the neighbors also has one of these dogs - you can when something big is up - every so often we can hear her across the fields.

If you are curious - the tarp is extra shade - when the pups first arrived, they weren't sure about the sheep in the adjoining pen, so we wanted to be sure they had plenty of shade if they didn't move with the flock.  Now they move with the flock and stay in the same shady areas they do as the day progresses.  This little pen is such that the sheep cannot enter.  That way we can feed the pups their own food, they can escape from the ewes when/if needed and they can have a comfortable section of their own.  We will need this when the female is spayed as she won't spend the night in the vet clinic, but will need her own area that she is used to.   Also helps as we do want to be able to catch the dogs whenever necessary to give shots/etc..  Another reason - hay comes in on big semi's, so we need to have a place we can put the dogs for their safety/so they can be contained if needed in addition to running with the sheep.  Our training process will be a bit different than others, but hopefully it will all work well.

Sunday, August 26, 2012

My version of Tim Holtz March 2012 Tag

I enjoy learning all sorts of new Ranger product techniques and seeing how Tim Holtz creates his tags, but I seldom have all the products.  Below is his March 2012 tag.  The outdoorsy feel with butterflies and the wood grain finish remind me of fall and I have some ideas churning.  Let's get started.

As usual, I will be showing my take on the project.

First - he has some movers and shapers butterflies.  I do not, but I do have some grungeboard in my stash, so I figure out what images I plan to use instead.  Below are the grungeboard pieces I think I may use.  However, last minute I may change out for some butterflies from my swap stash or something a bit different.

His tag uses wonder tape (or terrifically tacky or other sheet tape) and cuts some bits and pieces of paper for the patchwork look that is so pretty.  I don't have any of the tape on hand, but I do have plenty of embossing powder and glossy accents - so let's see what happens:

First - my embossing powders don't match, but I like Pearl Green and Gun Metal, so I am inking up and adding the embossing powder first.  I am not positive this is the look I will use, but I do know that I am really liking my new non-stick heat resistant craft mat.  I did use an embossing ink pad for this.  I don't, normally, but it is one I have had and need to use up as I forgot I owned it and bought a new one.  I can not return the new one since I had lost my receipt by the time I realized I didn't need the new one.

A bit of glue and I have the winged heart I wanted.

Next step - color for the grunge embellishments.  I have some bits of paper, but I prefer stickles and some smooch inks for the starts I picked.  I also really like the enamel accents by ranger, but they are fairly tough for me to find these days.  (spoiler - my tags rarely turn out like the ones he creates, but I usually use his as inspiration, rather than something I copy straight out).  So, while these pieces are drying - onto the next step.

He has a wood stamp, I don't, so here goes with trying my embossing folder with wood grain.  First, I inked my folder and put 1/2 the tag through.

Ink again and run through the 2nd time.  I didn't quite get exact lineup, but it won't be noticed on final.  Take a break and wash my folder.  As I have noted before, I really like the Palette Inks.  I used Burnt Umber for the bark.  

Next, I added a little Burnt sienna to the taag and inked the edges.  Yes, I did change tags - ran out to feed the puppies, came in, forgot where my coffee was and bumped it.  Had to start again..

On his example, he inked the edges of his butterflies.  The inks are still drying on mine, so I took some time to find a saying.  The one I liked best (as I see this tag ending up on a layout) is a wonderful Li'l Davis Designs Chip-Art Coaster that I received as a hostess gift from a swap.  It reads apprecier le moment/Time flies/ enjoy the moment.  So, I will ink the edges with Stazon Timber Brown.  Why Stazon?  because there is a glossy surface on this coaster and I want it to dry quickly and become permanent.

Another question that comes up - how to store inks?  I store them upside down in my dental cabinet.  It was a bit like a puzzle to get them to all fit (I have a few excess pads that share a drawer with sponges and some other items), but this is the system that works for me.  I can find them quickly and put them away just as quickly.

I also inked the grungeboard pieces I plan to include.

Next, he added some foliage.  I changed it up a bit there too.  Below you see some gathered items - now to finalize my placement decisions.

Added some paper scrap that I ran through my xyron and trimmed the edges, a piece of lace I found and cut some pieces from, a polka dot ribbon that matches some of the photos. 


Oh - I did add a few spritzes of gold glimmer mist.  I am not overly impressed with any of the mists, just tried it as he had in the video.

My completed tag:

As you can see - it looks almost nothing like the original.  I love to see others ideas and jump off my own direction.  By using some of the same techniques/materials but adding your own spin, you can come up with wonderful tags of your own.