Monday, January 21, 2019

New Books!

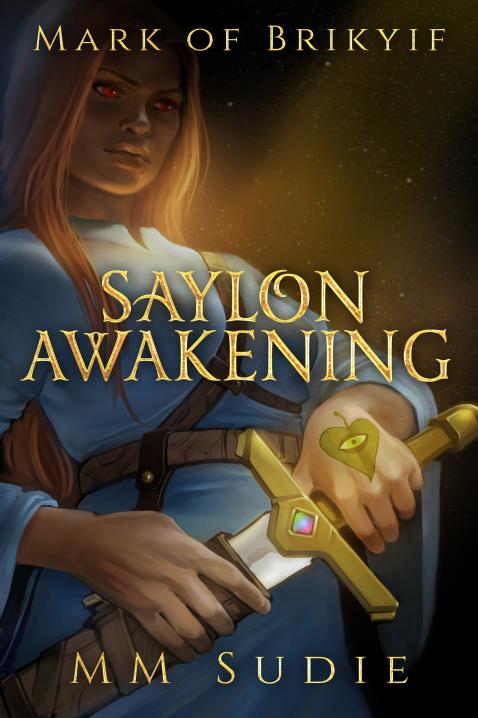
My daughter's latest books are now published!  If interested, check them out:

First book:  https://store.bookbaby.com/book/mark-of-brikyif-saylon-awakening


Second Book:  https://store.bookbaby.com/book/Mark-of-Brikyif-Saylon-Acceptance


You can also view through her website:  http://mmsudie.com/

I am still creating scrapbooks and cards, just not posting as often.

Monday, January 1, 2018

Some fun projects

I haven’t taken much time to post, but will share some projects since last posting.

Card from November challenge at scrapbook message board


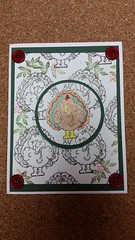
The lady I share an office with made me a card using this technique.  She told me how she created it so I gave it a shot!  Hers used chalks and such, but I was pretty happy it worked!  I just colored in the one turkey.  Love my results.


A tea gift.
Outside
  
Inside 


Saturday, October 28, 2017

Spellbinders kit & caboodle club

I have been subscribed to the Spellbinders kit & caboodle club for several months now.  I had very few dies when I started.  That problem hav now been alleviated.  Beautiful materials, but the tutorials are really lacking.

I have even tried some internet searches for people showing each kit and come up with only one or two cards.  So, last night I put my very limited card making skills to the test.  I took the October kit &caboodle club and made 10 cards.

Initial results are ok.  I added another sheet of blue card stock, white card stock and some stamped images to the supplies.  I tried making the two cards on the large dies and die of the month, but only one from the card kit because I wouldn’t use the others.

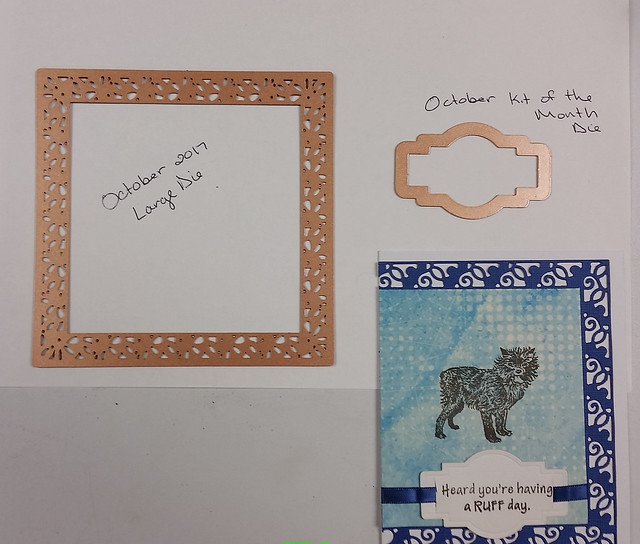
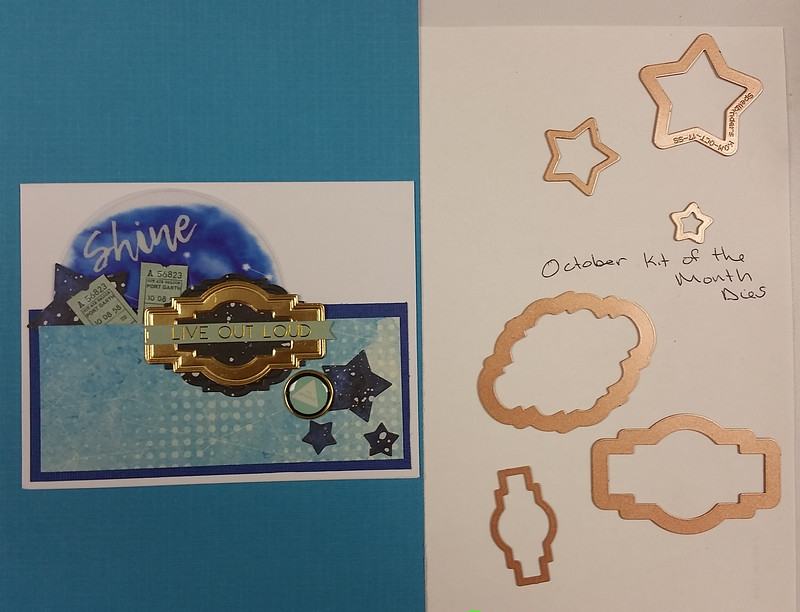
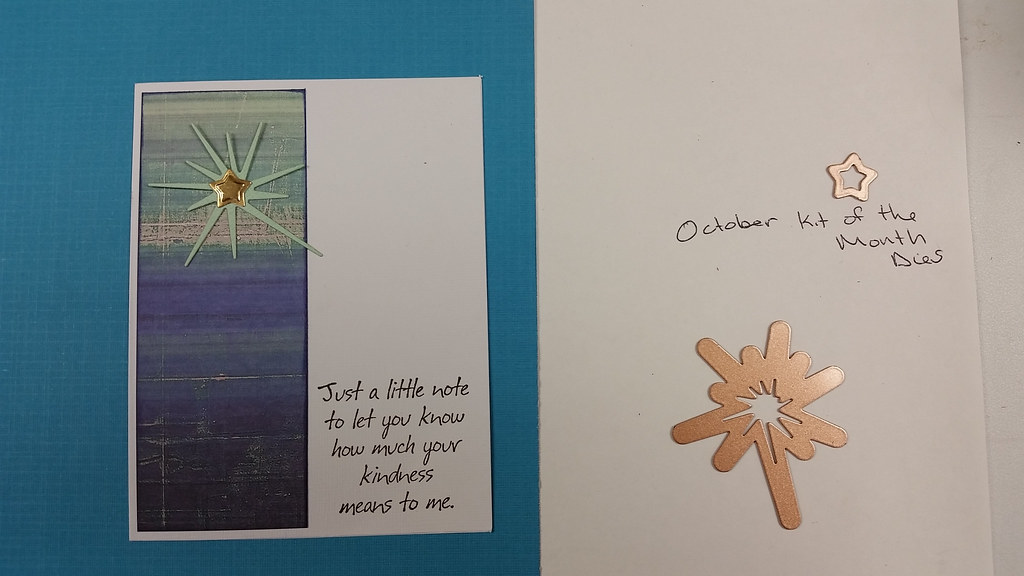
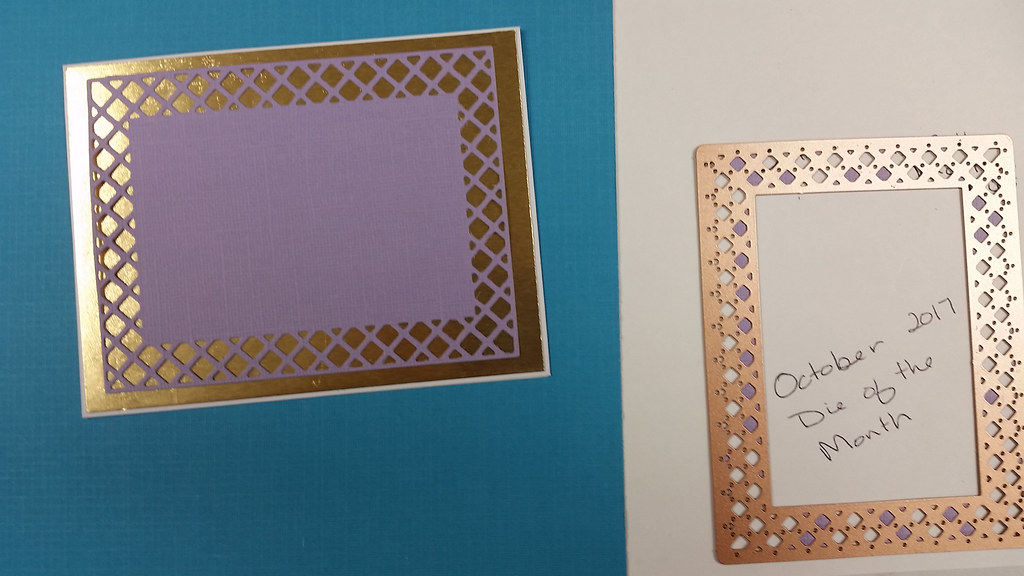
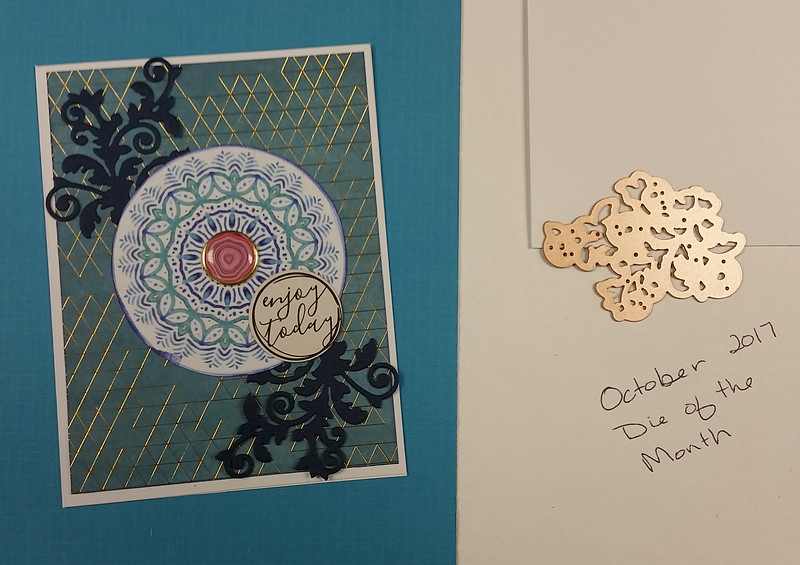
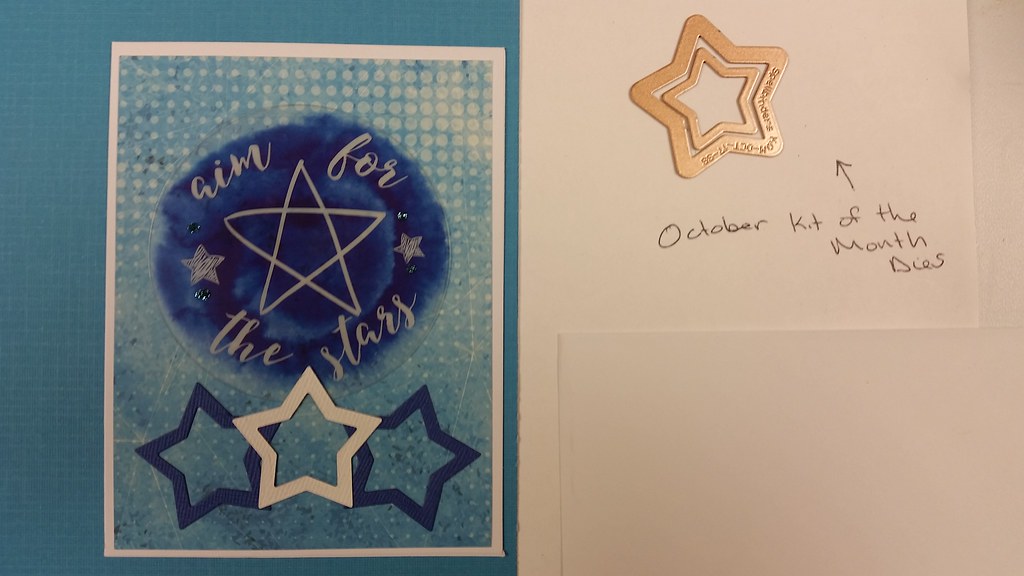
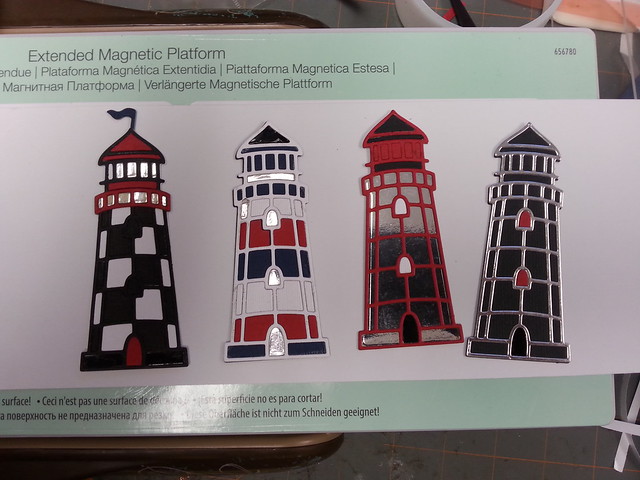
In the photos below I show the card and dies used.  Keep in mind I am really new to this so they are not fancy.

Above is the first card I did.  I cut the edge of the Large die off and used it for the background of the final card.

Below is one of the cards from the image on the packaging.  While it turned out ok, the directions left something to be desired.  They give some of the steps but not all.  I had already cut some paper down or I would not have added the dark blue behind the blue print paper.  However, I am happy with the results.

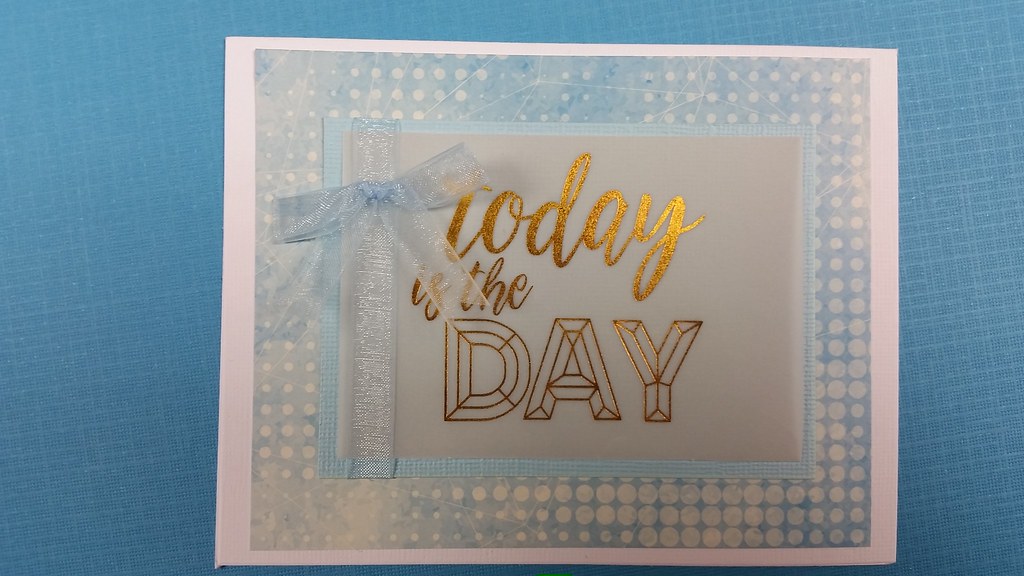
Next up - a really simple card that I know I will use.  The paper came in the kit, so I just inked the edges, added a few die cuts and stamped the greeting.

I still don't know how I will complete this one.  I just know I like the colors.  All papers are from the kit.  Still working on the greeting as the ones in the kit are not ones I will use many from for cardmaking.  However, I also scrapbook so they will be used there.

Here is a simple one using one die and an overlay included with the kit.

This one doesn't look simple, but it was very easy to create.  I will use this pattern more often.  Missing - one of the October kit of the month dies - the small flower (on the ribbon).

Another super simple card.  I don't know if the stickles I added (not from kit) show or not.  

I followed this from the Large die of the month set.  I am not good at coloring stamps or dies.  LOL  But I will be learning.

This turned out to be one of my favorites.  Very simple, but it works.

No dies at all.  I just used the overlay and some paper and fiber from the kit.

Well - above are the 10 cards (almost done - still working on the gold/purple one) from the Spellbinders October Kit & Caboodle club.  

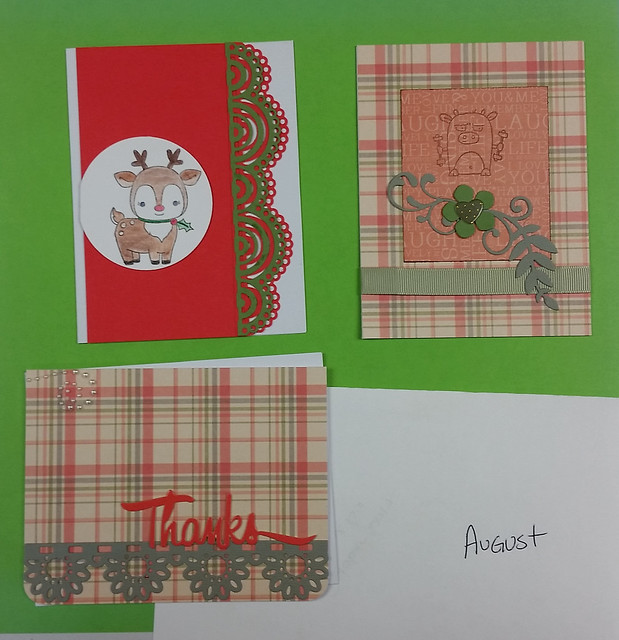
Below are the cards from August.  

lift the Rudolph image and you find
I did use the edge dies from August in a layering design.  

Then, I found a really great company called Taylored Expressions.  I bought a couple sets of stamps/dies from them last month.  I will be enjoying using them/have used them on several cards.  Here, I added the image to the outside (yes, I am still working on choosing inks - maybe this should have been embossed?):
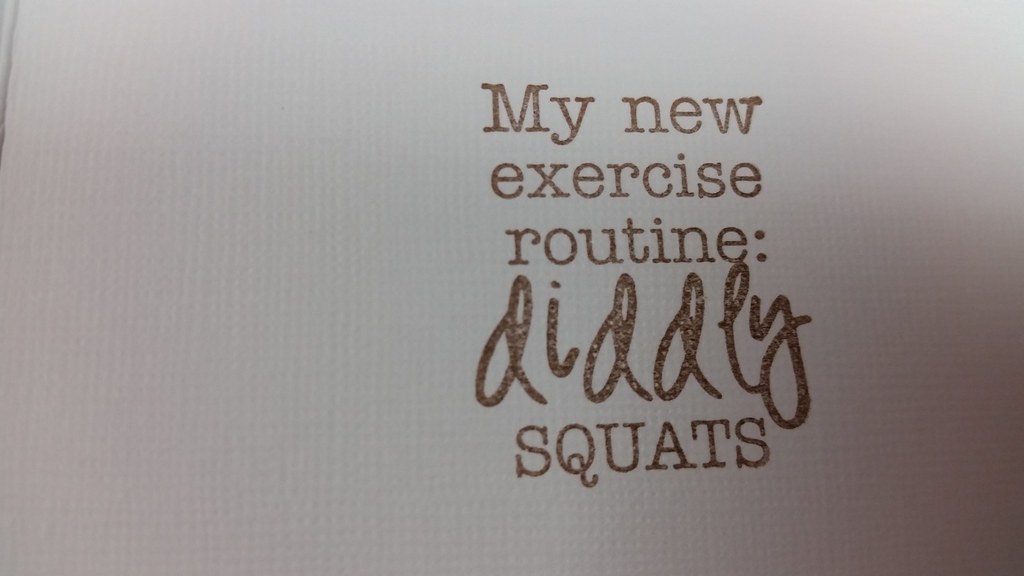
then I fell in love with the message that I picked from the set for this little guy

yes, I do have someone in mind for this fun card!

The other set - I didn't take a picture, but if you have ever viewed the llamas with hats you tube videos (CAUTION - these are not for anyone who is sensitive) I couldn't resist this set:
I have a card with a lot of llamas with various faces all over to a particular person with a name from the series.  Normally I don't buy stamped images for a single card, but really?  Where else will I find a llama that can have so many faces!  (plus, some from the cow set worked too).

As always, if you are interested, stop over to my messageboard site and say hi!  We love to meet new people and chat about cards and scrapbooking and other paper crafts.  

Other links you may find useful:


Wednesday, October 25, 2017

Challenge project going well

Loving the 2x2x12 challenge over on the Scrapbook message board.

I just completed a few more pages using one of my Club Scrap kits.  Names escape me but I had fun with September.

Tuesday, September 6, 2016

Fun cards with Sunflower Greetings to Go

A visit to my scrappytown means I took some time to enjoy a kit over the weekend!  First start - clear up my area and finish putting things away.  Any hints to getting the habit established doing this every time any project is created?  That is a habit I need to develop.

Once that was done, I started working on my Greetings to Go Sunflowers Card kit from Club Scrap.

I liked a few of the cards, a few others, I just didn't think I would use, so had some fun making some minor changes using my stash.

First - a few of the ones I usually call regular letter size cards.  I made a total of 5 of these.  The yellow that came was just brighter than I wanted, so I changed out the background to use a brown and orange type color I had on hand.  I also used some of the washi that came with their Scrapbook Kit club as well.


Then I did some work with other size cards

The one in the top left (thank you with sunflower ribbon) is actually a belly band around a center fold card.  I did add a sunflower charm to the front after the photo.


The other six will be posted later this week.  I pretty much followed the formula for making them - a few minor alterations, but overall they turned out just like the blog showed.

The Garden Shed Greetings to Go Kit was also completed this weekend.  Some of those pictures are over on Scrapbook Message Board


Oh, I am finally starting to upload some videos on my YouTube channel:  Scraprageous You Tube Channel

Sunday, September 4, 2016

Wow it has been awhile!

It has definitely been quite some time since I posted onto my blog. 

Well, time to get back into the swing of things!  I haven't had lots of time for scrapping, but with my schedule getting back to normal, I hope to spend more time in scrappy town (aka - my scrap area) once again!

New phone, so I am still working on getting photos that look right, but it has been fun.  First a football game in the Vikings new stadium!


I did have some time to work on this little flip book - just a few quick pages showing.


slow internet = pictures coming later.

Sunday, June 19, 2016

New Sales Item Graphic 45 Mini album

It has been forever since I have posted, but I have been keeping busy.  New lambs are on the ground and new job duties and more travel.  I do love keeping busy, so when we are really busy, what sounds great - come up with a new product idea!

Do you like to decorate mini albums but hate creating them?  I am considering selling "simple" mini albums.  What do you think?

The would include the basics - 6 pages (similar to the Couture mini album posted a few posts earlier) and either vertical or horizontal orientation.

Still debating if blank or use a line of paper to make it look less empty (but that adds at least $25 to the cost).

Looking for any thoughts, but as all you entrepreneurs know, no matter what others think, if we think it can be successful, we will go for it!

On another front, playing with some new dies has been fun.  I have limited myself to using scrap papers only and some new Elizabeth Craft dies.  Loving my results!


Sunday, January 31, 2016

Club Scrap Moroccan Spice Layouts

I really love this November 2015 Club Scrap Kit - Moroccan Spice.  As always, the paper is just fabulous to touch!  However, it didn't start out that way.

First, I get my instructions together to start.  I have some photos of when we moved in that I think will work out wonderful.  I don't 'care' about the papers in the kit, and the photos are ones I want, but again, don't 'care' about how they end up on a page.

So, off we go - grab the Assembly Line Scrapbooking instructions they provide and lets go!  I know from experience that even if I am not sure about the papers in the box, by the time I have a few pages completed, I really start to enjoy the colors.  It also is great for those days I really want to get something done, but have no idea where to start.  After a bit of working with the kit - viola!  I am ready to do some things on my own.  Totally works for me!

Ok - start cutting.  Three cuts in, I realize I read the dimensions wrong - ugh.  I will be revamping at least one page.

Well - let's keep going.  I have the cut-aparts I need complete, so grab some ink and ink up the edges.  I noticed after inking that the instructions have them distressed.  Oh bother.  Not sure I will distress or not.  I like distressed edges, but let's leave things for now and move forward.

Next, I realize I need to use a stencil - yuck (ok, I know I don't need to, but I hate to give up so soon).  I am not good at stencils, but what the heck, I have several mistakes already - if all else, I will flip the paper over and use it plain. So, stencil away.  It looks ok, not the ink color they use, but i like it.  It needs something else - Glimmer mist to the rescue.  The gold tip is clogged - that is how my day is going, so grab a different one (I don't feel like dealing with it right now).  I am not sure what I grabbed, but it turned out great!  Turns out I like Verdigris.  No idea how to pronounce, but I like the color!

Stencil done, figured out the page that is cut into multiple pieces and 'hidden'.  Let's work on accent pieces/embellishments while it dries.  Fun Medallions and sequins - let's put things together.

But - I don't know that I like the medallion on the cut-apaprt.  When looking into options from my stash, I found a button with a paw print.  Hey!  I think I know the photos - the red dog - when she arrived she was a mess.  The cut-apart reads, "Having somewhere to go is home.  Having someone to love is family.  Having both is a blessing"  Wow - that reminds me so much of her finally (at 1 year old) finding a home where she is loved and cared for and is a part of our family.  I know what photos will go here now.  Inspiration has struck.

Time for a few changes :).  Love this part!

The paw print/button is staying, the medallion can go elsewhere.  One of the cut-aparts will be replaced with some paw print paper and I need to find those photos!

Photos of this 'mess' to success are coming.  If only my uploader worked a bit quicker!

See you soon.  Any questions on what I did and the final results can be answered here or over at Scrapbook Message Board.  Have a wonderful day!

Friday, January 22, 2016

Finished up a project


This poor mini album has been sitting and waiting to be completed for about a year now.  Unfortunately for the album, I wanted to try the page styles (it is a vertical paper bag mini), so just picked out a pad of paper that isn't 'me'. 

Well, it turned out nice, and will be leaving soon as it is definitely not one I would ever use, but I did enjoy creating!

If you head over to Scrapbook Message Board, I think the 4th or 5th post has the video of this mini.  Waiting on internet speeds before I can upload to my blog.

Here are a few stills:


Don't forget, the design team call is going on through Monday!  Can't wait to see your work :).

Sunday, January 17, 2016

Card Sketch Challenge

Below is my entry for Fia's January Card Sketch Challenge on her site, Scrap with Us. 

The wedding folio/album I am finishing up requires burlap and I needed a break from working with burlap.  It may look nice, but I don't like working with it too long - I get itchy!  I will post photos in a bit of that album (will try for a youtube video again).

So, here is the card:

Don't forget to check out the Scrapbook Messageboard listing in the previous post - they have a great giveaway going on!

Saturday, January 16, 2016

Giveaway over at Scrapbook Message Board

Check it out - our bi-annual membership drive has begun!

You could qualify to win the Prize Package Below!  Head on over to Scrapbook Message Board to check out the details! 
More fun coming soon!  Don't forget to check out the 1/12/2016 posting regarding design team search!

I also finished up my layout challenge for this month (details check here ).  I didn't realize the colors matched Fia's site's January Color Challenge at Scrap with Us, so it is entered there as well.  You can see it side by side there.  I am not quite sure how to get my photos to line up next to each other here.  Have a great weekend!

Tuesday, January 12, 2016

Design Team Entries Due January 25, 2016

I received a few questions regarding design team submissions for Scrapbook Message Board. 

Answers are in blue

Guidelines:
Details:  Right now, the design team is only open to those with United States mailing addresses.  This may change in the future.
1) Membership and participation on the Scrapbook Message Board forum  Active participation can be described as either posting daily or multiple times per week.  I do understand many people work outside their homes and posting more than once or twice a day is difficult.  Making multiple posts a minimum of four days per week would be acceptable. 
2) Team position to last February 1 - April 30, 2016  It may be renewed, but as this is our first venture into design teams, I am keeping to a quarterly time frame.
3) You will be required to post a project, at a minimum, of every two weeks.  This project must be scrapbook related.  It could be a layout, a card, an album, something altered, a banner, etc..  It must be related to paper crafting/stamping.
4) You will receive a paper pack and a few embellishments during the first two weeks of your design team quarter to use in a minimum of three projects.  One must be a layout, one must be a card, the third is your choice (layout, card, altered item, tag, project, etc..)  All team members may not receive the same papers/embellishments.  It is just to be sure you have some supplies on hand to use for this team.
5) Each design team member is to offer either a challenge (with prize of their choosing) or RAK each month of their tenure.  Minimum size of prize is $2 value.  If this is a monetary issue, please contact me for other option.  You may offer a game each month of your tenure rather than a prize. 
6) Each design team member will be asked to provide one technique tutorial each quarter.  This may be a video link or it can be photos/text format. You do not need to post a video, it is perfectly acceptable to post photos and text on the Scrapbook Message Board site in a single thread in the appropriate location.
7) Applicants should submit, using the pm system on Scrapbook Message Board, a notice of interest to Scraprageous.  You will be required to submit photographs (jpeg) of one layout, one card and a short tutorial of some type.  (ex: take photos while creating your card, using a software program or your blog to show steps/give instructions).  Submissions due January 25, 2016.  This system is required as you do need to be a member of the Scrapbook Message Board in order to participate.
8) Thank you for your interest.  Feel free to send further questions to Scraprageous via the Scrapbook Message Board

Thank you so much for your interest and hoping to 'see' you on Scrapbook Message Board soon!
-----------------------------------
For those who have asked, yes, I did finish the Bridal Shower invitations:


Sunday, January 3, 2016

A Wedding Album Folio

If you are looking for Design Team information - see post prior to this one.

This is a wedding album folio I created for my niece.  You will see a lot of spaces at the top.  Why?  Because once photos are added, you need the room.


I did not do a ton of embellishing - this is for her to add photos and decorate, so keeping it pretty simple.  Ok, not sure what I did, but the video is upside down.  Off to see what I can do to fix it.


One inch sides, 8.5x11 back, three flaps on the right, two on the left.  No reason, just want I wanted to do. 

Wednesday, December 30, 2015

Design Team Call and a New Challenge

Scrapbook Message Board is undergoing some major changes!

It will still offer occasional swaps - time frame may increase, but will also start offering monthly challenges and even technique tutorials (say that three times fast).

The first sketch challenge is posted for members to view and a drawing will be held at the end of the month to select a winner.  Details can be found on the January 2016 Layout Challenge post.  This contest is open to both USA and overseas participators.

Next:  Design Team Call
Scrapbook Message Board is looking for a few talented individuals to start it's first design team.

Details:  Right now, the design team is only open to those with United States mailing addresses.  This may change in the future.
1) Membership and participation on the Scrapbook Message Board forum
2) Team position to last February 1 - April 30, 2016  It may be renewed, but as this is our first venture into design teams, I am keeping to a quarterly time frame.
3) You will be required to post a project, at a minimum, of every two weeks.
4) You will receive a paper pack and a few embellishments during the first two weeks of your design team quarter to use in a minimum of three projects.  One must be a layout, one must be a card, the third is your choice (layout, card, altered item, tag, project, etc..)
5) Each design team member is to offer either a challenge (with prize of their choosing) or RAK each month of their tenure.  Minimum size of prize is $2 value. 
6) Each design team member will be asked to provide one technique tutorial each quarter.  This may be a video link or it can be photos/text format.
7) Applicants should submit, using the pm system on Scrapbook Message Board, a notice of interest to Scraprageous.  You will be required to submit photographs (jpeg) of one layout, one card and a short tutorial of some type.  (ex: take photos while creating your card, using a software program or your blog to show steps/give instructions).  Submissions due January 25, 2016.
8) Thank you for your interest.  Feel free to send further questions to Scraprageous via the Scrapbook Message Board

Thursday, December 17, 2015

Christmas Creations

Wow has this year flown by!  I have had fun designing the Christmas cards that we sent this year (all were different using the 6x6 paper pad instructions - loved creating them and even more fun to send!).

Below is a fun little Christmas gift box/ornament that I created using my stash of Club Scrap papers.  I love how they feel and how they work in my projects!  I learned how to create this little toilet paper tube box by watching a video that Xannaro1 created over on youtube! 

This one isn't large, but it will hold a cute little gift.  I used my sizzix to cut out some trees to create a dimensional tree for the little package.  Leftover glitter sticker paper worked well for the interior.
 Some beads and glossy accents help the outside to sparkle as well as some Stickles and Liquid pearls for the tree.  A Prima flower and button round out the decorations.  The glittery silver paper is from an older Club Scrap kit - just stamped with a winter greeting I had on hand.
 These other boxes still need to be decorated.  The glittery purple has an astronomy type pattern from the same older Club Scrap kit as the silver paper.  I inked the edges of a Christmas wrapping paper roll for the larger box.  The smaller box is from another Christmas wrapping paper tube - it is smaller than the toilet paper tube used for the green ornament/gift box, but still works great for earrings.  I painted it with a metallic bronze and the red is from the 50's Kitchen Club Scrap Kit.

Merry Christmas!


Sunday, December 6, 2015

Sketches for 6x6 cards

6x6 Sketches 1-6 are the ones for the online 'class'/tutorial over at Scrapbook Message Boards

Follow along for free, or sign up for free on the site to be able to ask questions.  Class Starts 12/6/15 at 4 pm CST

Friday, December 4, 2015

Online Crop To Start with a Bang!

An Explosion Box!  Scrapbook Message Board's Final Crop of 2015 will start off with a bang - a tutorial of how to create the explosion box shown below.  Members can request a pdf of the tutorial.  Membership is free, so join in the fun now!  Fun Challenge prizes all week!

Top - Mine is an advent calendar based on the Names of Jesus.  I added some extra pieces to the standard explosion box to accommodate my needs of 25 spaces.


 Remove the lid.  Since this box is nearly 10 years old, it no longer just falls open since I store it in a closed position.  In another week, it will fall open easier.
 Outer layer "explosion"

 View after removing inner layer box lid - four more flaps open

 Third interior box lid removed - lid inside is a day - just like the others and there are four more flaps.  The small box inside came loose, but will is easy to restick.  I used some inexpensive adhesive but most has held.  I will use glue to fix anything that is loose this year.
 final 'explosion'
Class will begin December 4, 2015 at 8 pm EST.  Head on over and join in the fun!  We will be using the chat box at the lower level of the main screen.  To participate in the chat, you must be a site member.

Supply list - for the box only, not embellishments:  8 sheets of 12 x 12 cardstock, adhesive, method of scoring, scissors.  :)  See you tonight!